Weather Station Project: Lesson 6

Introduction
We need the JSON file from the previous lesson. This fill will be transferred to the Pi. It will be used by our Python script to send the sensor data to the Google Sheet.
I cover the process for transferring the file to the Pi using Mac and Windows. The transfer on these operating systems is done through the command line. Chromebook doesn’t a similar command for its command line. We will use our GitHub account to download the file onto the Pi.
There is a sample script that is part of the DHT package we downloaded in a previous lesson. We will modify this file to send the sensor data to the Google Sheet.
JSON file
In the previous lesson, we downloaded the JSON file for our Google Sheets API. You should have placed the file into a folder titled 'weatherFile'. This file needs to be copied to the Raspberry Pi.
We are using the terminal to transfer the file with a protocol called Secure Copy, scp.
Open a terminal window. Don't log in with SSH. In the terminal, we have access to navigate the contents of our computer. I will go over the process using MacOS first.
Mac SCP file transfer
The commands on MacOS are very similar to those on the Raspberry Pi. Open the terminal application. Type ls -l to see what folder you are in.

The content listed should be those of your home folder or directory. The home directory contains the Desktop folder.

If you don't see the Desktop folder then you are probably not in your home directory. Type cd ~ and press the Return key. The tilde character instructs the terminal to switch to the home directory.
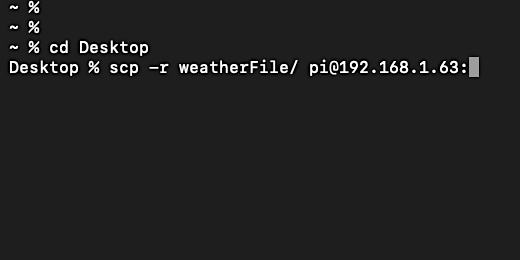
Type cd Desktop to move into the desktop directory. The folder with the JSON file should be in your Desktop folder. Type scp -r weatherFile/ pi@192.168.1.63:. Replace the IP address with the one for your Raspberry Pi. Make sure to include the colon after the IP address. The colon instructs SCP to get the directory from the current location.
Provide the password for the Pi account. The folder and file within will be transferred to the home directory of your pi account.

You will get a confirmation that the file was transferred.

Windows CP file transfer
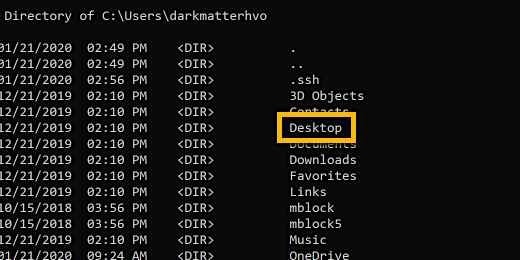
Open the Windows command prompt. Here is a hint if you don't remember. Type cmd in the search box. Type dir to get a listing of the files and directories in your home directory.

There are several files and directories. We need to access the desktop directory. This is where we saved the JSON file inside a folder. Type cd Desktop and press the return key.
Type dir to get a listing of the desktop contents. The folder with the JSON file is in the weatherFile directory. We will copy the directory and file over to the Pi.
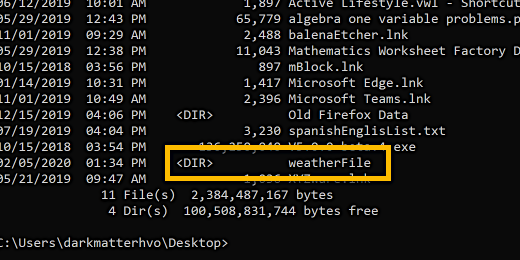
Type scp -r weatherFile/ pi@192.168.1.63:.

Enter the password for the Raspberry Pi.

The command prompt returns with information for the JSON file in the folder. This confirms the file and folder transfer is complete.
Chromebook file transfer
Chromebook don't have a way to transfer the file over to the Raspberry Pi like Mac and Windows. Well, that isn't entirely true. The latest Chromebook with access to Google Play has access to apps and extensions. Not all teachers and students have access to the latest products. I don't want to leave them out. So I have come up with an alternative.
We created a Github account in an earlier lesson. We used the account to download the sensor libraries and examples. We are going to upload our JSON file to Github from the Chromebook. We will then log into the Pi and download the file from Github.
Open the Chrome browser. Go to https://github.com and log into your account. We are going to create a repository to store our JSON file. Click the New button.

We need to provide a name for the repository. The repository name is the same as a directory or folder. This repository is tied to the account name for your Github account.

Name the repository weatherProject. Don't use spaces in the name.

Provide a description for this repository. It isn't required. It is always a good idea to document your repositories. Repositories are usually a way to share your projects with the community. In this case, we don't want anyone to have access to your JSON file. Select the option to make this repository private.

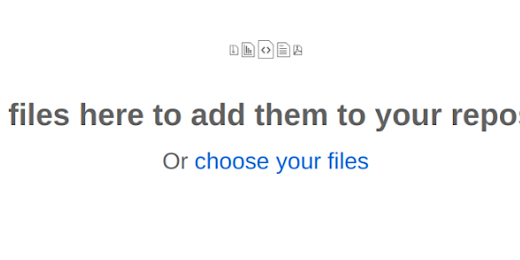
This is where we upload our JSON file. Click the link that reads uploading an existing file.

Click the choose your files link.
Open the weatherFile folder if you placed the file inside.

Select the weatherStaion JSON file and click the Open button.

The file is small. It doesn't take long to upload.

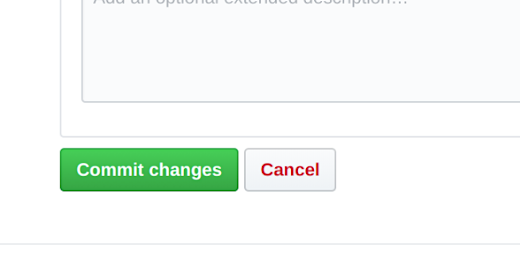
Click the Commit changes button.
The JSON file will appear in your weatherProject repository.

The repository is part of the web link in the browser address bar. This information is the path to the repository. Write this path down somewhere. You will need it soon.

When downloading a repository we see the same path.

In the next step, we are going to log into the Raspberry Pi. Click the SSH extension and select your Pi connection.

Enter the password for your Pi account.

Type git clone followed by the link to your repository. The link begins with https://github.com. This is followed by your account name and the repository name. Press the return key.

Enter the username for your Github account. We are prompted for the username because the repository is private. We need to log in to access the file. You are prompted to enter the account password after entering the account name.

The file downloads and the command prompt returns.
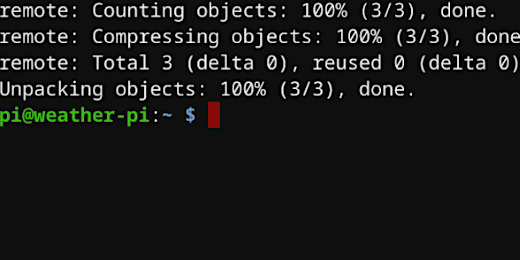
Type ls to verify the repository is in the home directory.

The file is in a directory with the same name as the repository. We need to change the name to weatherFile. Type mv weatherProject weatherFile.

The mv command is the move command. This is how we rename files and directories in Linux. The directory is moved and named weatherFile. The old directory is removed.
Get a list of the directory. Confirm the directory name has changed.

Weather File Directory
There are two directories in our home directory. We are going to create another directory to hold our project files. Type sudo mkdir weatherScript The mkdir command creates a directory.

We are going to copy the JSON file into this folder. Type sudo cp weatherFile/. We only need the file inside the directory. We don't remember the full name of the file but this is where Linux is helpful.

The file begins with the word weather. Add the word weather to the command. Example, cp weatherFile/weather. Press the tab key on your keyboard once.

Linux looks at files in the directory that begin with the word weather. If there is only one file then it completes the name of the file for us.

Complete the command by typing weatherScript/. Example, cp weatherFile/weatherStation-33f21afa3c11 weatherScript/.

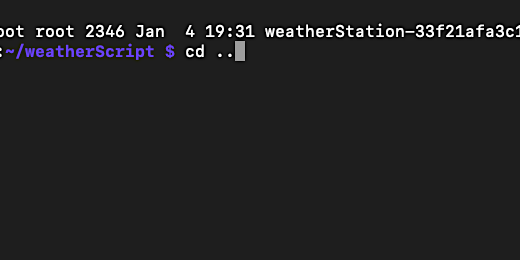
We don't get a confirmation. Type cd weatherScript/. Type ls -l to confirm the file is in the directory.

Now we are going to work on the script to upload our data to the Google Sheet.
Google sensor script
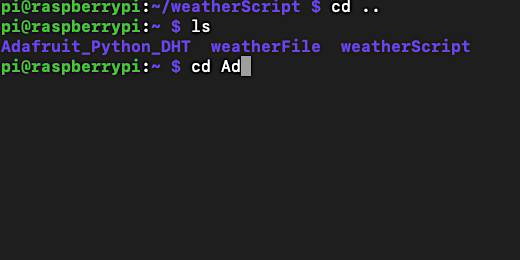
The DHT library includes a simple test script. We used the script to verify the sensor is working. There is another example file in the directory with a sample script for uploading our data to Google. Type cd .. to return to the previous directory. The two dots refer to the directory above the current directory.
Type cd followed by the letters Ad. Press the tab key to complete the rest of the directory name.
Press the Return key to move into the directory.

Type ls -l to view the files in the directory.

The sample file is in the examples directory. Type cd examples/ and then ls -l. The file we need is google-spreadsheet.py.

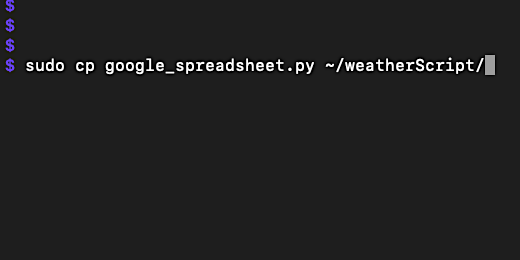
We are going to copy this file to our script directory. Type sudo cp google_spreadsheet.py ~/weatherScript/. This instructs Linux to return to the home directory and copy the file into the 'weatherScript' directory.
Type cd ~/weatherScript/ so we can begin working on the script. Get a list of the files in the directory. Write down the name of the JSON file. You will need to provide this name later.
Script Google authentication
The Google script includes the lines of code we need to publish our data. Type sudo nano google, and press the tab key to complete the file name. Press enter to begin editing the file.

Use the down arrow to get to the import section. This is where we see all the hard work pay off. The import section imports all the libraries that are needed to communicate with the DHT sensor and Google Sheets. Some of the import names should look familiar, Adafruit_DHT, gspread, and the oauth2client.

Move the cursor down to the DHT type line. Move the cursor to the end of the line. Change the sensor type from DHT22 to DHT11.

The pin connection for the DHT sensor is already at 23. We don't need to change that pin value.

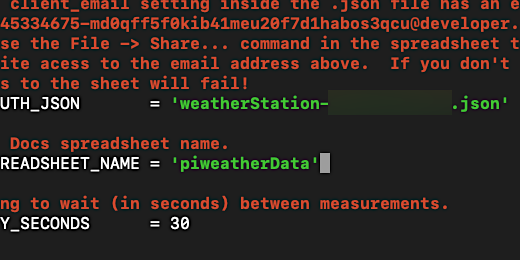
Move the cursor down to the GDOCS line. We need to provide the name of the JSON file. We also need to provide the name of the Google Spreadsheet. This is where you are going to need to manually enter the complete name of the JSON file.
Move the cursor with the arrow keys to the dot of .json. Press the backspace or delete key to erase the example information. Type the name of your JSON file.
Type the Google spreadsheet name in the corresponding line.

The JSON file name begins with weatherStation. A hyphen and series of numbers and letters come after the name. Make sure to include the '.json' extension. This is important. The Google Sheet name is piweatherData. That is all the information we need to provide. Let's take a look at the code and learn what is going to happen.
The code
The code will fetch data from the sensor at thirty-second intervals.

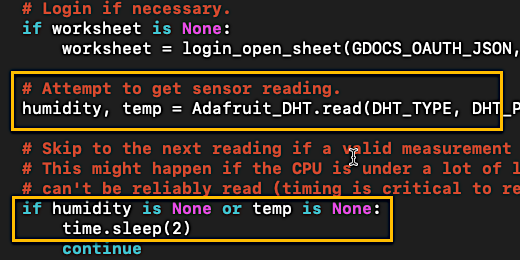
The information from the JSON file and the spreadsheet name is used to access the Google Sheet. The "Try" section of the code tries to connect to the Google Sheet with the authentication information. This authentication information is in the JSON file. If there is no success we will get a message. That is where the "except" section returns the unable to connect message.

The code will try to get the data from the sensor. If it does not receive data it will wait for two-seconds to elapse and try again.
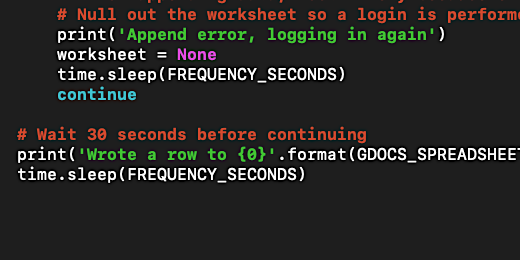
If the sensor sends data to the program then the program will try to submit the information to the Google Sheet. It will append the data to the sheet by adding it to the first row. If it can't access the Google sheet it will wait and try again. If it can't access it at all, then it will report an error.

At the end of the loop, the script will announce that it published the sensor data to the Google Spreadsheet. It will wait for thirty-seconds and repeat the process. It will do this until we stop the program. The program is terminated by pressing the keyboard combination Control+X.
We need to save the file and exit nano before running the code. Press Control plus the letter 'o' to write the changes to the file. We are prompted to confirm the file name. Press the Return key to confirm. Press Control + x to exit the nano editor.

To run the script type sudo python3 google_spreadsheet.py.
The sensor will send data. We will get confirmation on the terminal too.

Go to Google Sheets and open the spreadsheet. The Google Sheet is accepting data from the python script. Let the script run a few minutes.

The data will remain in the spreadsheet after we have stopped the Python script. Logging out of the Raspberry Pi SSH session will also terminate the script. Keeping the script going is part of a future lesson. Stay tuned.