Fill in the blank with Google Docs

Use tables to format the sentences
Fill in the blank exercises are useful for younger students. They are helpful when learning new vocabulary. I like using fill in the blank, or Cloze sentences with students. They reinforce vocabulary skills using context. Students use the surrounding words to infer which word needs to be in the sentence. They apply vocabulary in context. It provides a valid assessment of their comprehension.
Use the links below to get a copy or preview the final product.
Get a copy: https://bit.ly/2zpLai8
See a preview: https://bit.ly/2zmzSv3
In this lesson, we are using Google Docs and Google Sheets. Google Sheets is useful when creating the table to separate the vocabulary. I use the sheet as a tool during the creation process. I keep one around like scratch paper.
Create a Google document for the paragraph. Create a blank spreadsheet to format the table. Have both tabs open in your Chrome browser.
Begin with the paragraph. This is the template and answer key. This paragraph reviews concepts and vocabulary for a lesson on the inner planets. Use the link below to get a copy and follow along.
Get the example paragraph copy
This works better when the document is in landscape orientation. Click File and select Page Setup.
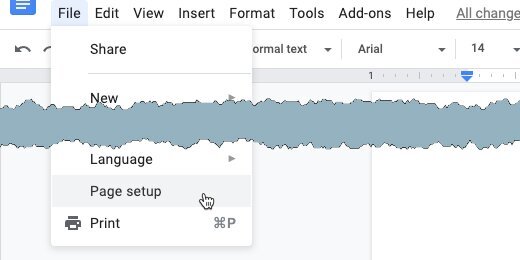
page setup
Select Landscape and the OK button.

set page to landscape mode
The paragraph has several terms related to the inner planets. I Select and highlight each word to be assessed.

sample paragraph
Double-click on a word. Use the background color picker. Use a light yellow color.

highlight color
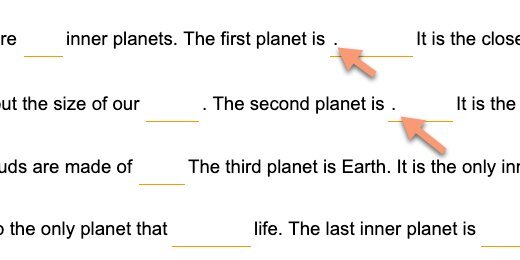
This what my paragraph looks like. Highlight the words in my image.

select words highlighted
Insert a hard return before the next sentence that wraps around. Make sure each line ends in a complete sentence. This makes things easier.

end lines with hard returns
To separate the vocabulary in Sheets, we need markers to identify the separations. The marker can be any symbol. It can’t be a letter. I like to use the asterisk. Place an asterisk before and after each highlighted word. Place the asterisk after a period if the word comes before a period.
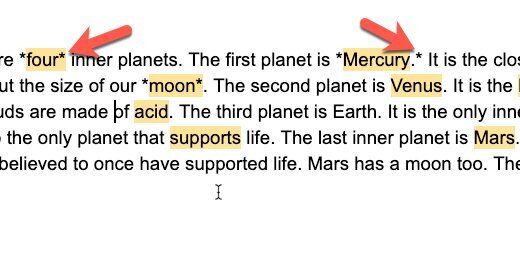
asterisks to separate words
Select the first line of sentences and copy them.

copy the first line
Go to the blank spreadsheet. Paste the sentences into the first cell.
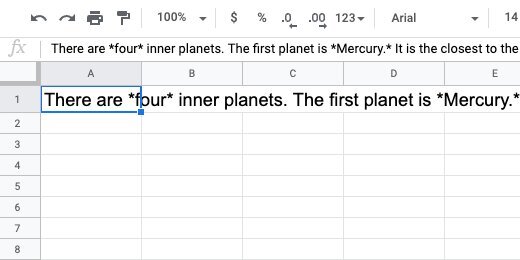
paste the line into the first cell
Go back to the document and copy the next line of sentences. Paste it into the next row in the Sheet. Copy each sentence and paste it into a separate row.

paste each line into a separate row
Select all the rows in the first column that have sentences.

select rows with sentences
Click Data and select Split text to columns.

select split text to columns
Sheets uses a separator to identify where to split the text. This is the asterisk we used.

select separator
Click the separator selector. The asterisk is not part of the standard separators. Select the Custom option.

choose custom seperator
Type the asterisk into the custom field. The words are instantly separated.
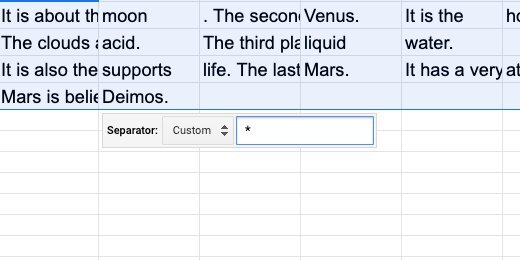
set the separator to the asterisk
Find the last column with sentence information. Select everything in the first row up to that column. Copy the contents.

select the first row with content
Return to the document. Press the Return key after the paragraph a few times. Paste the sentences. Google wants to know if it should keep the link with the spreadsheet. Select the option to paste unlinked. Click the Paste button.
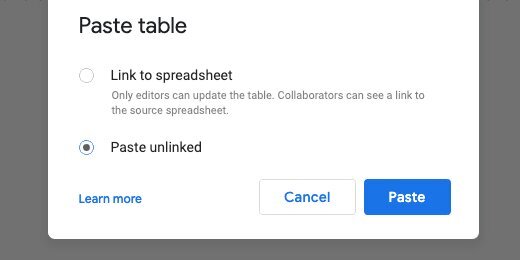
paste the row into the document and unlink from the sheet
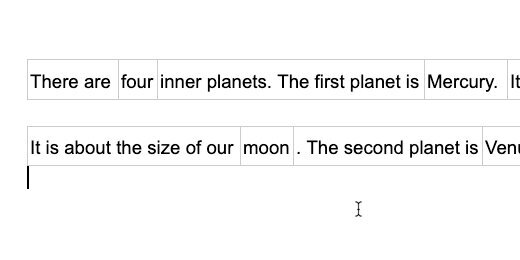
We need to resize the columns.

the sentence separated into separate columns
Click and drag each column separator so the sentence looks uniform.

adjust the column width and height
Copy the next sentence from the sheet. Paste it below the first sentence table. Each line of the sentence is pasted into a separate table with one row.

cursor below table
It’s easier to use separate tables.
paste next sentence
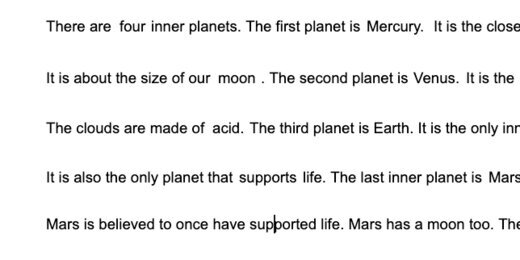
Repeat the process with the remaining sentences.

paste all sentences and adjust
We need to remove the table borders. Click inside on one of the cells in the first table. Go to Format in the menu. Move down to the table option. Select Table properties.

table properties
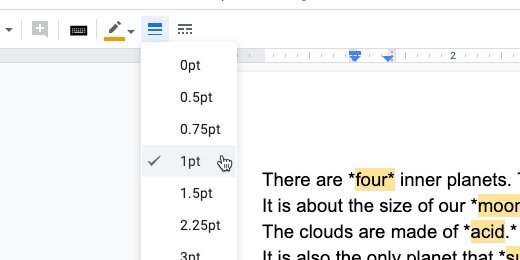
Click the table border size. Choose zero points. Click the OK button.

set border to 0pt
Repeat the process for the other tables.
all tables with no border
Click on the first word to be filled in.
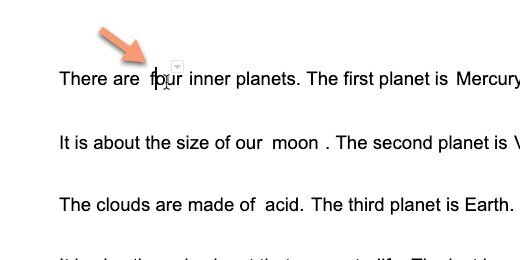
select word to erase
The border selector appears above the word. Click the selector. Choose the bottom border.

select bottom border option
Click the border color selector. Choose a color. I like the orange color.

select border color
Click the line size selector. Choose 1 point.
set border to 1pt
Erase the word. Repeat the process with the other words.
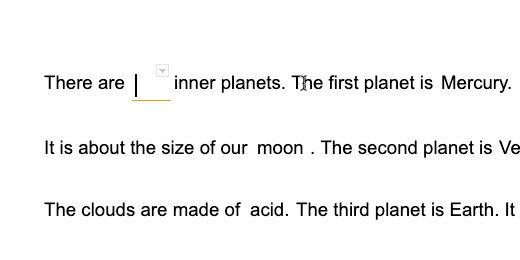
erase word
It gets tedious selecting the border color and width. Here is a timesaver. Copy the contents of a formatted cell. Make sure it doesn't have a period.
repeat with other words
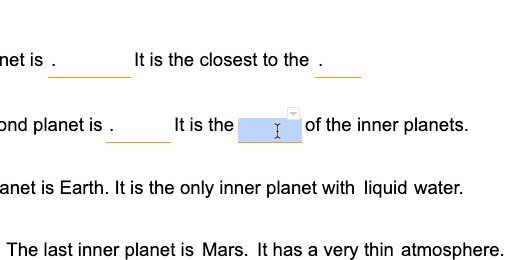
Highlight the next word and paste. This erases the word and formats the cell.
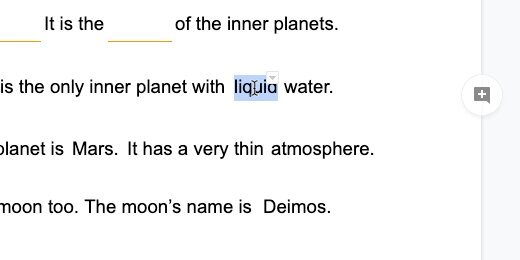
paste format to save time
Everything is looking nice. I have some periods in odd places.
dealing with periods
Click in the cell with the period that is in an odd place. Click the Right align button.

align text to the right
All is right with the world.

repeat with all sentences that need it
Keep this document as your answer key. Make a copy.

make a copy of the document
Update the name for the copy.

rename the copy
Remove the original paragraph. Add a heading and make it look nice. Distribute to students with Google Classroom.

format the student copy
Teacher Master Document
You are eventually going to use this document with students. Use the document for a whole group activity. Use it to check the assignment answers with the class. Use it for teaching and review. Return to the tab with the original version. This is what I do with my documents when using them with students. I use Google’s Version history. Make sure none of the answers are filled in. Click File and go down to version history. Select the option to name the current version.

set a restore point for the master
Name the version Original and click Save.

set restore point name
Go ahead and fill out part of the document.

fill in the document
Click File and go to version history. Select see Version history.

see version history
Selection the version marked as Original.

select the original version
Click Restore this version. The document with the empty blanks is restored.

restore to the original
Answer key version
It’s nice to have a version for the answer key. Fill in the blanks with the answers. Create a version and name it Answer Key. Go back to version history and retrieve the original version. Retrieve the answer key by selecting it from version history.
Bonus
Turn on the option to show only named versions.

show only named versions