Technology lessons for educational technology integration in the classroom. Content for teachers and students.
Google Team Drive Fundamentals
Team Drive is part of Google’s Enterprise or Education package. Team Drive is much like a shared folder in Google Drive. It offers a little more exclusivity than a shared folder.
Team Drive
Team Drive is part of Google’s Enterprise or Education package. Team Drive is much like a shared folder in Google Drive. It offers a little more exclusivity than a shared folder.
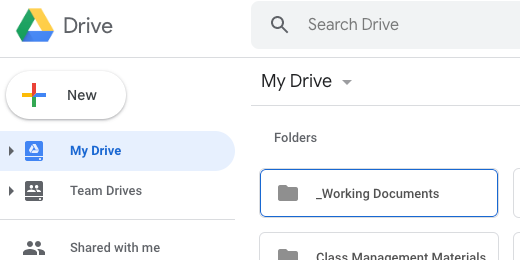
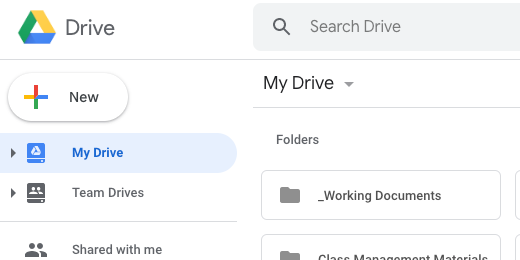
Team Drive is listed below My Drive on the Google Drive page. Click on Team Drives.
Note that You won’t find it under personal accounts.
Team Drives is not just one drive but multiple drives. Each drive is created with an account and shared with other accounts. Click the New button after selecting Team Drives.
Provide a descriptive name for the new Drive and click Create.
The drive is created and opened in a few seconds. There is nothing in the drive. We are prompted to add content. Before adding content we will add members. Click the Add members link.
We are presented with an input box to provide member account names or email addresses.
The default permission granted to new members is Content Manager. This permission is similar to that in a shared folder where the account has edit access. Click the triangle next to the Content manager permission.
Content managers have permission to add, edit, move, and delete files. This includes folders. The only account with more rights is that of the Manager. The manager is like the owner in a shared folder. The manager, in this case, has some exclusive rights. The manager is the only one that can manage members and settings.
One option that is useful here is the option to grant contributor access to an account. Contributors have permission to add content and to edit existing content. They do not have permission to delete or move content. Contributors have a kind of dropbox access to content in Team Drives.
The commenter permission is useful when we need input from an outside source but don’t want them to make any actual changes to content. Commenters have the permission to comment on files. This is much like the option to comment on documents like Docs and Sheets.
The viewer permission grants the account access to view content without any other permissions. View accounts are useful when the team is ready to share content with accounts outside the team.
Non-organization members
Team Drive allows us to add members outside the organization. This option can be changed in the Drive settings. We will cover that later. Team Drive is not available for regular accounts but it becomes available when an account is invited to become a member of an organizational team.
The Team Drive disappears if we choose to remove the account form the team. We will see how to remove members in the next section. A warning message appears to inform the account that they no longer have access to the files from the Team Drive.
The Team Drive option is replaced with Computers.
Managing members
The number of members in a team is shown below the team name.
Click the triangle next to the team name. Select the Manage members option.
All the members of Team Drive are listed. Their respective permission in the drive is listed on the right. This is where we change account permissions.
Two accounts have been updated to Manager permission. This is different from a shared folder. A shared folder or file can have only one owner. In Team Drive we can have multiple owners of the drive and files in the drive. Click the Done button to update the changes.
The permissions option includes the option to remove the account from the Team Drive.
Google Drive Shared Folders
Shared folders are useful for a variety of reasons. Shared folders provide limited access to documents and resources. Useful when working with groups.
Shared Folders
Shared folders are useful for a variety of reasons. Shared folders provide limited access to documents and resources. Useful when working with groups.
They are usually edited and updated by a handful of accounts. Over the years I have used shared folders for a variety of projects. I have also used shared folders to share content from professional development sessions. Shared folders are great but they don’t always work well on their own. Shared folders are easily lost in the vastness of shared files and folders. The resources in these folders are often lost because it is difficult to find what you need in folders. Over the years I have accumulated hundreds of documents in dozens of shared folders.
Shared folders work best with small teams and in combination with other resource portals like Google Sites or Google Groups. Let’s create a folder in Drive and share that folder with others. Log into your Google account and go to Drive.
Click the New button.
Create a new folder.
Give the folder a descriptive name and click the Create button. The folder is created and selected for us.
Remain in Drive with the folder selected. Click the Share button in the Drive button bar.
The share configuration box opens. The options here are very powerful. They provide lots of basic sharing options. Begin a shared folder by adding collaborators. Collaborators can add and edit content in the folder.
We add collaborators by entering their email address in the People box. The permissions selector on the right is set to provide them with edit access.
The other option we have at this point is to grant them view-only permission. They will be able to go through the contents of this folder and any folder we create within this folder. They have the option to open any document for viewing, copying, downloading, or sharing. There is more to the viewing option than meets the eye. Sorry, I couldn’t help it. We will learn how to manage these options a little later. We click the Send button to send them an email notification and a link to the shared folder. The shared folder is available in their Drive without having to click the link in the email.
The icon on shared folders updates to include a share icon. Open the folder by double-clicking on it.
Another way to share a folder is by clicking the triangle next to the folder name in the path bar. The share option appears in a pull-down menu.
I’ll invite another account to have access. This account will have view-only access. Teachers often ask what the difference is between sharing with view access and sharing a link with view access. The options are almost the same but there are reasons why you might want to choose one over the other. I’ll click the send button to share the link.
Click the triangle next to the folder name and select share. Click the Advanced button.
In the advanced section, we have a detailed view of the accounts that have access. We also have a view of the permission for each account.
Click the permission selector for one of the shared accounts. The permission selector has a few more options now. My account as the creator of the shared folder is the owner. As the owner, I can make another the owner. It is the only account that can make another the owner. The owner account is the only account that can delete the folder. There can only be one owner per shared folder.
As the owner, I can prevent editors from changing access permissions for other accounts. I can also prevent editors from adding accounts to the shared folder.
Any document, file, or folder added to this folder is automatically accessible by the shared members of the folder. This is part of the inheritance nature of working with shared folders. Click the Create button and create a new folder.
The new folder has the same permissions as the parent folder.
Documents and permission
Create a new Google Doc in the folder. Google informs us that the created document will be shared with the same members that have access to the shared folder. Click the Create and Share button to confirm.
Documents have additional permission options. Click the Share button on the newly created document.
Click the Advanced button. Click the permissions selector. There is an option to grant the user permission to comment on the document only. Comment permission allows the account to provide feedback on the document without modifying the document. This permission change applies only to the document. It does not change the account’s permission to other folders or documents in the folder. This is part of the nuance I spoke about earlier. We could also choose to make this account the owner of the document. The account holder would own this document but the rest of the permissions in the folders and other documents will remain the same.
Permissions within folders are inherited. Just like we inherit genes from our biological parents. Files in folders can have their own set of permissions that are different from the parent folder. This is similar to how we are similar and different from our parents.
There is another option available in shared documents. Owners and editors have the option to prevent commenters and viewers from downloading, printing, or copying the document. This option is useful if we don’t want old copies of documents to be circulating.
There are many powerful features in shared documents. They are flexible and provide opportunities to share content with teams.
“Sed purus sem, scelerisque ac rhoncus eget, porttitor nec odio. Lorem ipsum dolor sit amet.”


