
Technology lessons for educational technology integration in the classroom. Content for teachers and students.
Customize Sway with Themes
Presentations in Sway are theme-driven. The choice of colors and fonts is limited. This is done in part to reduce the amount of work that needs to be done to produce a polished presentation.

Themes and design
Presentations in Sway are theme-driven. The choice of colors and fonts is limited. This is done in part to reduce the amount of work that needs to be done to produce a polished presentation. A theme is selected for us during the creation of a sway.
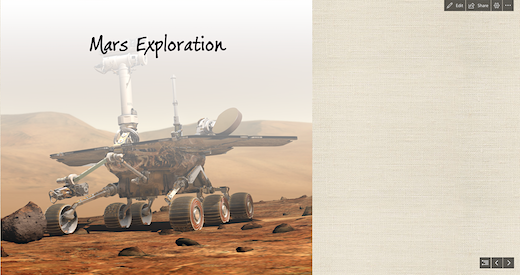
In the previous lesson, we created a presentation on the exploration of Mars. The theme for the project is based on the images. The theme for this project is nice but I would like something different. Go to the button bar and click Edit.
Click the Design tab.

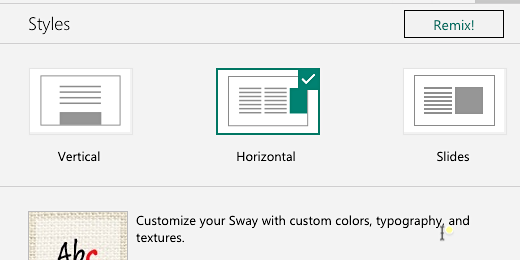
Click the Styles button.

The first option in the Styles panel is the display format. This Sway is set to display the information horizontally. Users will swipe left and right to view the presentation. The vertical option displays content like a traditional web page. The Slides option presents content much like a traditional slide show. We’ll keep the horizontal option for now.
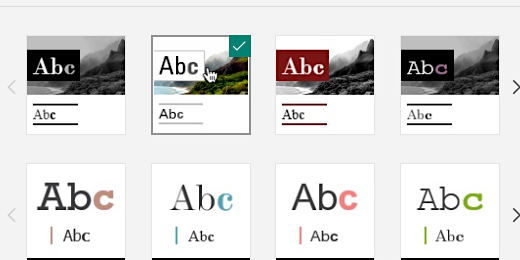
There are several thumbnail samples of themes. Each sample includes a variety of colors, styles, and fonts. Click the first theme thumbnail.

The Sway project updates to match the theme we selected. This theme changes everything to black and white. I'd like to keep the color of the images.

I’ll select the next theme thumbnail. This restores the image colors.
There are other ways to customize the presentation design. Click the Customize button.

Sway uses images in the project for a color palette. The curated palette can’t be changed. Click on one of the other image thumbnails. I’ll click on the mars rover thumbnail.

The color palette options update with suggestions. I’ll click the dark color option in the extreme right.

The image gets a little darker and the background for the text gets darker too.

That’s too dark. I’ll select a lighter option.

There are a few font options. Click the font choices selector.

Select a font option. See how it looks in the project. Select another until you find one that works.

This is looking much better. Click the Play button to preview the project.

It’s looking much better. I would like to keep the images separate. To keep them separate we need to change the presentation mode.

Click the Edit button.

Click the Back button.

Click the Slides option and preview the project.

The rover image is all by itself on the first card.

Use the navigation controls to move between cards.

The images look very nice. The text on the cards is a little too plain.

Click the Edit button. The button bar might disappear when previewing. Move the mouse pointer to the top right so it reappears. Click back on the Storyline section.

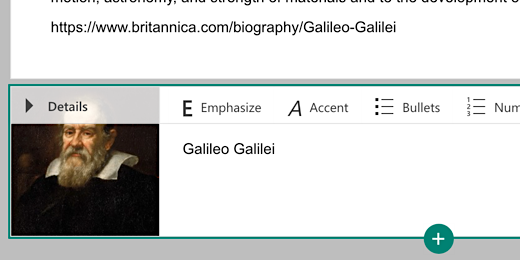
Click the triangle to reveal the contents for Galileo.

Click inside the first text card. Select all the text in the card. Click the Emphasis option.

Repeat the process for text on the next card.

Click the play preview button. Navigate to the text card. The text looks nice but it is still lacking something. Go back to edit mode.

The text cards are on their own. We can group text cards with images to add interest. Add an image card below the second text box. Add an image of Galileo to the card. Make sure to include a caption.
Click the Play preview button and navigate to the information cards. The text from the cards appears to the left of the image. The image is on the right because it is the last card in the group. To place the image on the left side we need to move the image to the top of the current group.

This looks much nicer. Look at the rest of the project. The last two cards include the video and Mars facts. The Mars facts are on their own. They didn’t group with the video card. There is an option to force group cards. Go back into edit mode. Find the Mars video card. There is a box in the lower right corner of the card. Place a check in the box.

Go to the card with the Mars facts and place a check in that box too.

A group option becomes available on the text card above the text area. Click the Group button.

The grouping places the cards to the left and right of each other. The Grid option arranges the cards from the top down then to the right. Leave the Automatic option selected. Click the Play preview button.

The video and text are placed next to each other.

Formatting text
Our text needs some formatting. Go back into edit mode. Go to the Mars facts card.

Click once in front of the first sentence and press the Return key once. This will move the text down. We will add a title to the top of the facts information. Type Mars Facts.

Highlight the Mars Facts text and click Emphasis.

Highlight the Mars Planet Profile text and emphasize it too.

Click the Play preview button. Click the Outline view button. The button is next to the navigation arrows.

Click the Mars thumbnail.

Click the right navigation arrow to get to the video.

These are some of the fundamentals. I use this for my introductory project with students. Students continue to add information from their research.
Student presentations with Microsoft Sway
In this lesson, we learn to use Microsoft Sway basics. We create a basic Sway product with images, videos, and text. Microsoft Sway accesses a variety of resources on the Internet to help develop our project. Follow the step by step instructions to create your own Sway products.

Microsoft Sway
Sway is a free online product from Microsoft. All you need is an Outlook email account. Sway is a storytelling app that presents itself as an alternative to PowerPoint. It presents concepts quickly, easily, and clearly.
Sway is cloud-based. This makes it easy to collaborate on Sway projects. It is also easy to share projects with the world.
Sway is built to tell stories. It uses cards to gather concepts in the form of images, video, and text. Cards are grouped to combine concepts similar to paragraphs in a narrative.
Themes take the guesswork out of designing backgrounds and selecting fonts. This is a definite plus. My students often spend too much time selecting colors and fonts. I would rather they spend time developing content. There are plenty of theme choices.
Import a variety of media to create a nice visual presentation. Images and videos can be imported from online resources. Searches for online content are filtered for media in the Creative Commons. This assures that content does not violate copyright. It is easy to add content from a variety of other sources. These sources include OneDrive, Google Drive, Flickr, and our device.
Pull in existing PowerPoint presentations and Word documents. For best results, documents should be formatted with proper headings.
A browser is all we need. Sway presentations work on any device.
Creating A Sway
Sway is available online and is free to use. All that is needed is an email account. Schools with children under 13 can use district accounts. Microsoft provides Office 365 resources for Eduction.

The easiest way to access Sway is to type https://sway.office.com in a browser's address bar. Click the Get Started button or click the login button at the top of the page.
Templates are available to help get started on a project. These templates are a good way to understand what Sway does. I encourage you to view some of these templates.
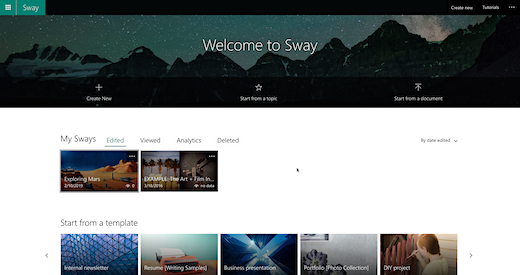
The Sway home page provides some examples. These projects are a good way to learn what is possible with Sway. They are developed by others in the Sway community. The projects in the community have a professional look and feel. Sway makes it easy to create nice products without too much effort.
The banner area of the home page has three options. The first option on the left creates a new empty project. This is where we will begin in a moment. The center option is similar to using a template. We start with a topic. The topic uses keywords to gather resources from Wikipedia and develop an outline for a project.
The third option located on the right begins with a document we created in Word or PowerPoint. Sway uses the content in these documents to develop a Sway outline. This is a helpful way to convert existing PowerPoint slides to Sway projects.
Mars Exploration Sway
We will develop a project where students have researched the exploration of Mars. The exploration will begin with the history of its discovery and documentation by Galileo with his telescope. The research will take us to the most recent explorations with satellites and robots.
We will begin with a new empty project. This way we can see how different media and content are added. Sway uses cards to organize and present content. This is similar to PowerPoint slides. Each card contains a media element. These elements include images, text, video, and audio. Click the Crete New button.

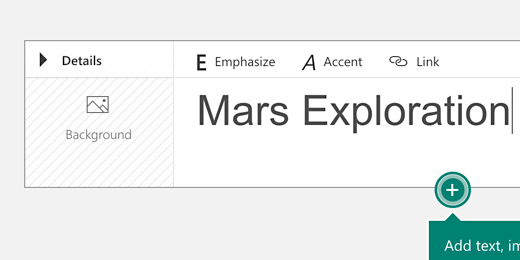
We are presented with the first card in our Sway project. The card is a title card. Enter the title "Mars Exploration".

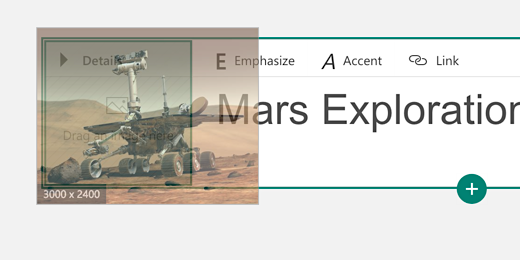
To the left of our project title is a place for us to include a background image for the card. Click once on the background place holder.
A panel opens on the right side of the project page. This panel provides suggestions for background images based on the title of our project. Click the Mars Exploration suggestion.

The panel displays a variety of images related to Mars and Mars exploration. The top of the panel includes a section for images and videos. We are currently in the images section. All these images and videos are covered by the Creative Commons license.

There are a variety of images on the internet. Many of them are of good quality and others are not. It is usually best to select images that are of the best quality possible. This is especially true for background images. Background images will need to stretch out across a web page on small and large displays.
The resolution of each is shown below the image. The image with the largest resolution is in the top right. It has a resolution of 3000 by 2400 pixels. The image with the lowest resolution is 500 by 500 pixels. Click once on the image with the highest resolution.
During the selection of the image we learn about image resolution and how to gather images with good resolution.

Click the Add button.

We can also drag and drop the image onto the placeholder.
We have just created our first card. To create additional cards we click the plus button on the bottom of the current card.

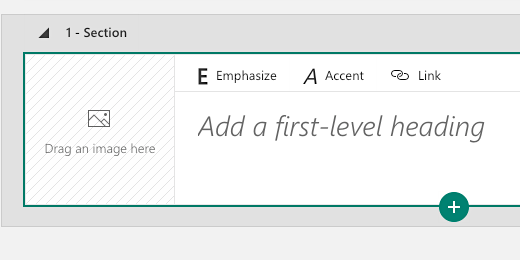
A box with several menu options appears. Sway cards work best when they have a top-down order. The first card in our project is a title card. Our next card should be a heading. There are two types of headings. Heading 1 is used after titles. It is referred to as a first-level heading. Heading 2 is used after heading 1. Click the Heading 1 option.

The heading 1 card is similar to the title card. The first heading in our presentation will provide information on Galileo. Type Galileo Galilei in the first-level heading box. Galileo was the first to observe and document Mars with a telescope.
Go to the media panel and type Galileo Galilei in the search box.

A variety of images for Galileo appear. I want a high-resolution image. Use the one that has a high resolution and works with the presentation.
Discuss choosing images that relate best to the content. We look at several images and discuss why they might or might not be the best choice for our project.

There is more to Sway than images and headings. Sway provides a nice way to display written information.

Click the plus button below the Galileo card and select the text option.

Add some text in the card related to Galileo.
Information for the text is gathered with the class before we begin to create our project. This reinforces the importance of content as the driving reason for the project.

Let’s add another card. This card will provide basic information on Galileo.

Let’s take a look at what we have done so far. The heading 1 card and each text box are grouped within a larger box. This grouping is helpful when we develop large Sway projects. Grouping is useful when students are working collaboratively. Each student can produce a group of information cards.

The heading card has a triangle to the left of the title. This triangle collapses a grouping.

Collapsing groups helps when working on large projects.

Create one more grouping. Create a new card and select the heading 1 option. Title the card Mars the Red Planet.

Click the background option. Select the Mars recommendation in the suggested searches panel.

Find a nice image for the background.

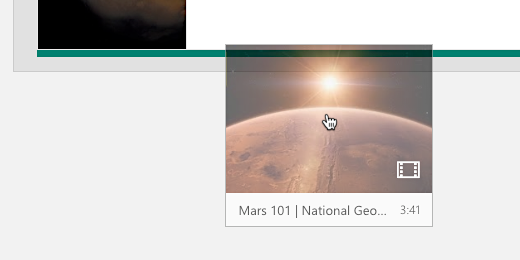
Add a little more interest to the Sway presentation. Click the videos section.

Look for a short video. I found one from National Geographic. This video is a little over three minutes long.
Discuss why the length of a video is important in a project. Bring in discussions of the audience and their expectation. Have a conversation over how to balance our need to present information and the audience need to be informed and entertained.

Click and drag the video below the current card.
A new card is created with the video. The card includes an option to include a caption. This caption appears above or below the video. The location depends on the theme. The caption for the video will credit the source.
Discuss the importance of citation in any publication.
Type National Geographic in the caption box.

Click the plus button and add a text card. This text card will provide basic information and data on Mars. The bottom of the information text contains a link to the source for citation.

Preview the project by clicking the Play button. The button is in the button bar at the top of the page. Go ahead and create your own Sway presentations. All Sway products are saved and stored in your Microsoft Cloud account.