Halloween Infographic with Google Drawings

Introduction
Infographics are used in a wide range of topics. Infographics are a fun way for students to collect and present information. An infographic is filled with images and charts that provide an overview of a topic. Most infographics contain a minimum amount of text.
Infographics are designed to provide visual information. Visual information is processed faster than text. This is one reason infographics are so popular in media.
Creating them takes more work. This is one of the reasons I like this type of exercise.
Students need to be aware of their audience. They need to think about thinks like legibility and readability. They research the topic. They decide how they are going to present the information. Is it going to be formal, informal, or personal? They need to decide on the format. They outline the information and create mockups. Students need to highlight the main points of a topic. They need to learn how to convey the main idea with a few sentences.
The product
I like to create a working document for students. The working document contains some resources. These resources facilitate the speedy completion of the product. For example, students often spend too much time searching through fonts. The working document includes the fonts to be used in the project.
The first infographic projects are guided. On these projects, I include the graphics to be used. I do this to speed up the process and avoid distractions. Searching for images is fun but students wander off.
Use the link below to see a preview of the final product.
Use the link below to get a copy of the working document.
Get a copy of the working document
Drawing document
The working document has a few resources. On the left side of the canvas is the list of imported fonts. Google has a large repository of fonts available for Google documents. They are also available for use on your computer. The repository is found at https://fonts.google.com. The repository is also available within the Google Apps.
When you receive a Google document from any application —Google Docs, Sheets, Slides, or Drawings— it includes all the fonts used in the creation of that document.
The fonts for this lesson are in a text box where each line is formatted with a separate font. This attaches the fonts to the document and makes them available.
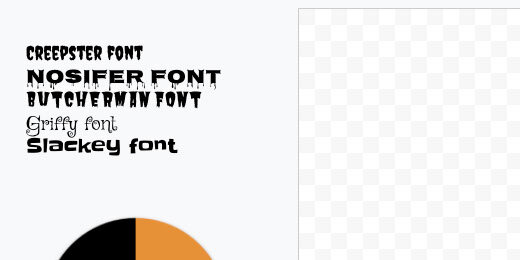
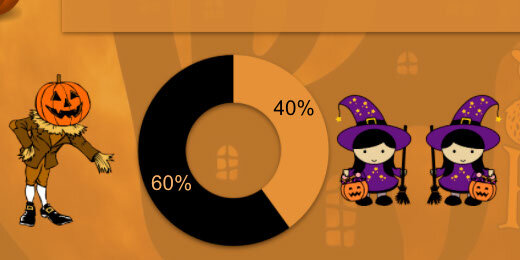
Below the font resources is a donut chart. The chart is one of the components I want students to include. The chart represents statistics on the number of people that wear a costume on Halloween. This information is available on ducksters.com —Halloween facts for kids.
https://www.ducksters.com/holidays/halloween.php

On the right side of the canvas are the graphics used in the product. They include a pumpkin scarecrow, scary pumpkin, and cute trick-or-treaters.

The background
I like to begin with a background. The background sets the tone of the project. It also sets the choice of colors. Click the Insert Image option in the button bar; select the Search web option.

Search for Halloween.
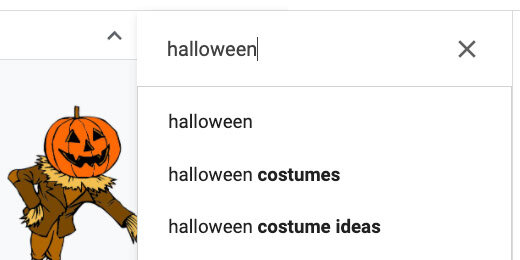
I chose the image with a haunted house and an orange moon in the background. Click on the image and click the Insert button. The button is at the bottom of the panel. You can also double click the image. That’s much easier.

Stretch the image so it fills the canvas. Don’t worry about deforming the image. Halloween images are scary and deformed.

Go to the shape selector tool. Select the rectangle shape tool.

Draw a rectangle anywhere over the image.

Use the background palette and set the color to dark orange 1.

Use the line color palette and choose the transparent option.

Go back to the color background tool; choose the custom option.

Move the transparency slider to the left. Not too much —about a fifth of the way.

The top of the custom toolbox has a Hex value for color and transparency. Enter this number if you want the same results I have. The Hex value is e69138c8. Click the OK button.
Move the box to the top left corner. Align the edges of the box to the edges of the canvas. Use the red alignment guides to help.
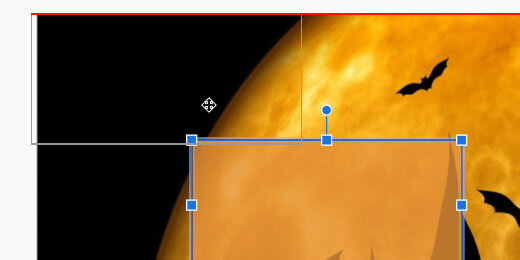
Stretch the box so it fills the image on the canvas.

The title
Go to the menu and click Insert. Choose the Word art option.

Type Halloween Facts in the Word art box. Press the Return key.

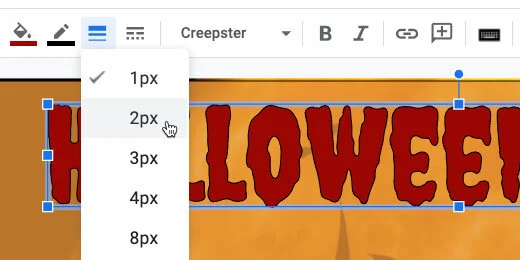
Keep the word art selected. Use the font menu to select one of the fonts provided with the document. Mine are all listed in the recent section. The fonts on your menu will be further down. I’m using the Creepster font.

Move the word art text box to the top center of the drawing canvas.

Use the background fill tool. Select a color for the title. I choose dark red 2.

The text has a thin black border that helps the red stand out. Click the line thickness tool and choose the 2-pixel option.
Click the Format options button.

Place a checkmark on Drop shadow. Close the format options panel.

Bullet points
The pumpkin images will serve as bullet points. The pumpkin images are available on the document but I want to show you how to search for and insert them. Click the Insert image selector. Choose Search the web.

Search for Halloween pumpkin clipart. The clipart option is important.

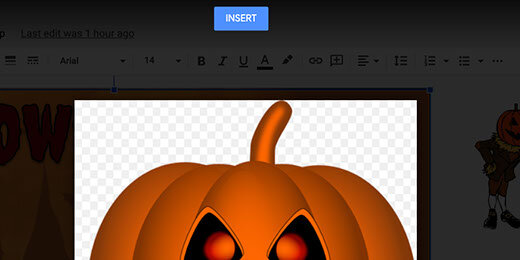
Click the preview image icon for the first pumpkin.

The clipart image appears in an overlay. The image is surrounded by tiny grey and white squares. These squares indicate that the background is transparent. That’s what we want. We don’t want to have to deal with some ugly background around the pumpkin.

Click the next button twice to get to the pumpkin image we need.

Click the Insert button.
Click the Format options button.
Open the Size & Rotation section. Place a checkmark on the Lock aspect ratio option.

Change the width to 1-inch. The height value changes to match the aspect ratio.

Place the pumpkin below the letter H for Halloween. Use the red alignment guides to position the image.

Go to the menu and click Edit. Select the Duplicate option.

Place the duplicate pumpkin below the first.

Repeat the process one more time and place the pumpkin below the second.

Hold the Shift key and click once on each pumpkin image. This selects all three images for the next step.
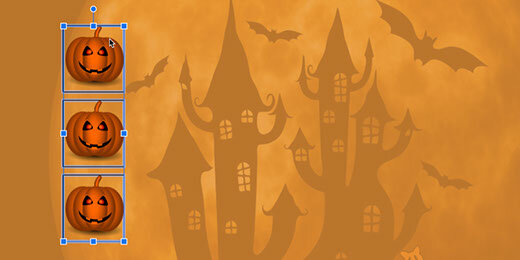
Use the border-color picker and set the border to transparent.

Go to the menu and click Arrange. Use the Align option and select Center. This aligns the images to the center.

Go back to the menu and select Arrange again. Go to the distribute option and select vertically.

Text boxes
Use the text box tool and place a text box next to the first pumpkin.

Click the Format options button. Go to the Size & Rotation section. Set the width to 6.3 and the height to 1 inch.

Click the background color tool; select the same orange we’ve been using.

Go back to the background color tool and choose Custom.
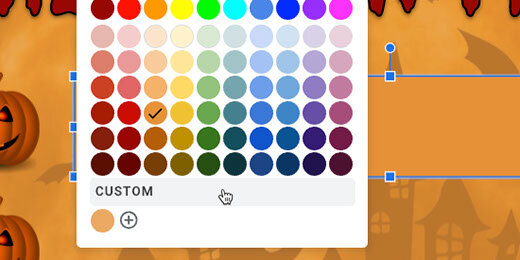
Move the transparency slider to the left. Move it so it’s just above the letter ‘o’ in OK. Click the OK button.

Place a checkmark on the drop shadow option. The option is in the Format options panel.

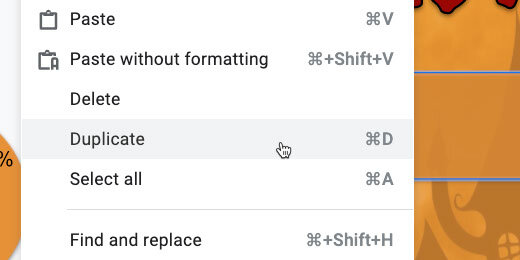
Go to the menu and click Edit; choose the duplicate option.
Use the vertical and horizontal options to align the duplicate with the previous text box.

Duplicate this text box and move it next to the last pumpkin image.

Remaining images
Get the donut chart and move it below the last text box.

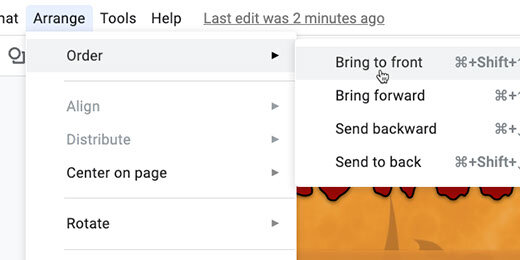
When you let go of the chart it will look like it disappeared; it didn’t. Images are placed on invisible layers. The donut chart is in one of the first layers so it is below the background image. We need to bring the image to the top layer.

Click Arrange and move to the Order option; select bring to front.
Bring the images I placed on the right side of the canvas and place them on either side of the donut chart. Use the Order tool to bring the images to the front. Resize the scarecrow image so it fits.
Select each image and add a drop shadow.

The infographic design is complete. Fill in the text boxes with three facts about Halloween.

Lesson ideas
Infographics are versatile. Instead of facts, we can use it for other Halloween topics. Here are some examples.
Halloween short stories. Students write three short Halloween stories.
Halloween memories: Students write three Halloween memories. They can also write one long memory —each box represents a paragraph.
Halloween family: Students write a short story about a member of their family during Halloween.
Halloween poems are another option.