Basic geometric shapes with Google Drawings
Introduction
In this lesson, we will be learning how to create basic geometric shapes. Use the shapes in assignments and assessments. The shapes are created using Google Drawings. The tools in Drawings makes the process of creating the shapes simple.
The final products in this lesson are available and free on my Teacher Pay Teacher store. I have created some free assignments and assessments for you. They are on my Teacher Pay Teacher storefront. Use the links below to access those resources. I encourage you to go through the lesson and create the shapes yourself. The process adds to your skillset.
Google Drawing shapes on Teacher Pay Teacher
Google Drawings
Create a folder in your Google Drive to store the geometric shapes. Here I have my geometry folder inside my assignments folder.
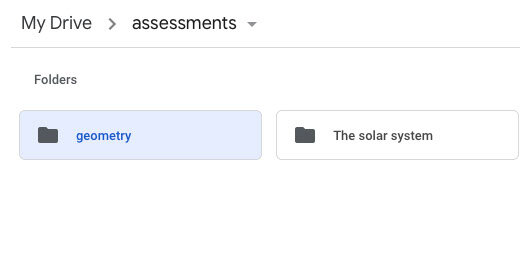
Within the geometry folder, I have a 2D shapes and a 3D shapes folder. Create a folder for your 2D shapes.

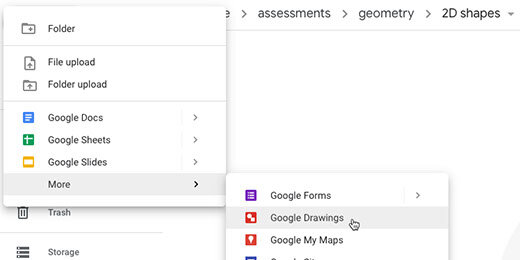
Create a new Google Drawing.
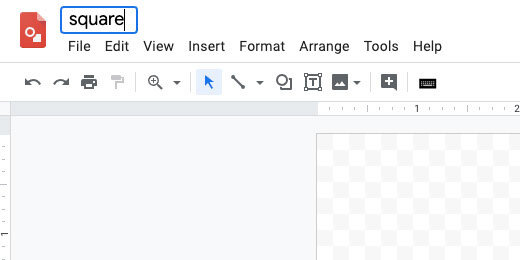
Set the name of the drawing to Square. We will begin with something simple.
Drawing setup
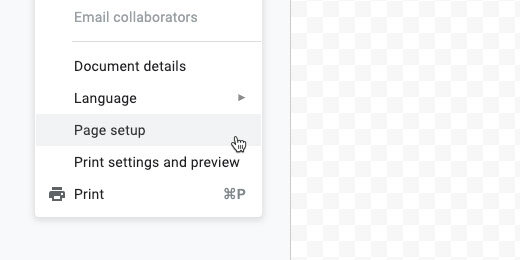
The default canvas has a size ratio set at four by three. I like to have a square-shaped canvas. This gives me a consistent framework for the shapes in the final product. Click File and select Page Setup.
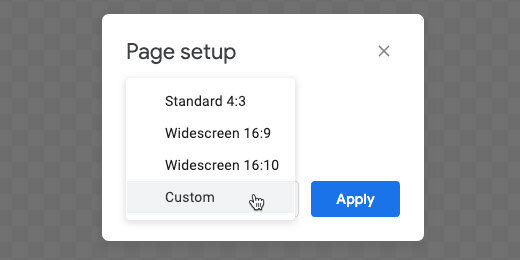
Click the page setup selector and choose custom.
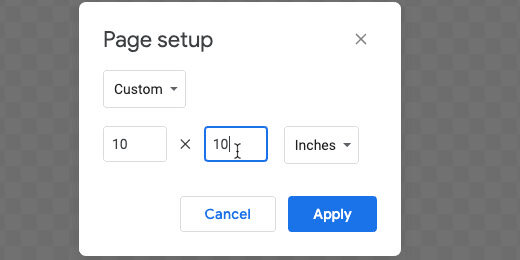
Set the width and height values to 10 inches. Apply the changes.
The square
Click the shapes selector button. Select the rectangle tool.
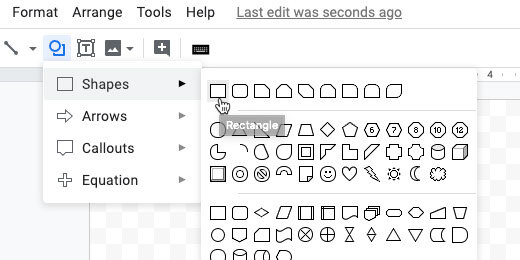
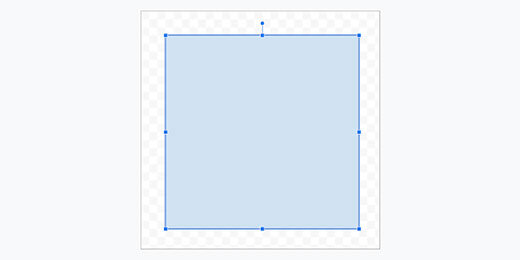
The rectangle creates a free form rectangular shape. The shape we want here is a square. We need to constrain the shape to a square. There is a keystroke that helps us. Press and hold the shift key while dragging out the shape.
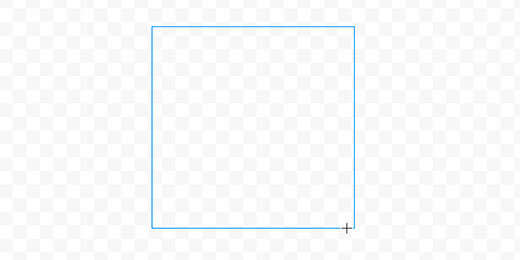
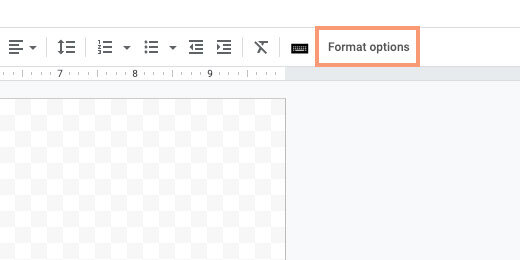
The shape does not need to fill the canvas. We will take care of that in the next step. Click the Format options button.
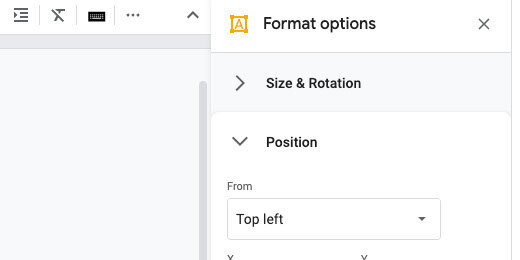
Open the Position option.
Set the x and y values to 1-inch.
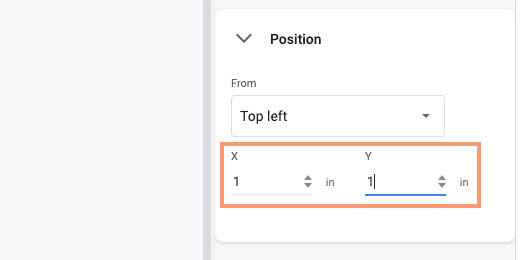
The values place the top left corner one inch away from both the top and left edges of the drawing canvas.

Open the Size & Rotation settings. Set the width and height to 8-inches.
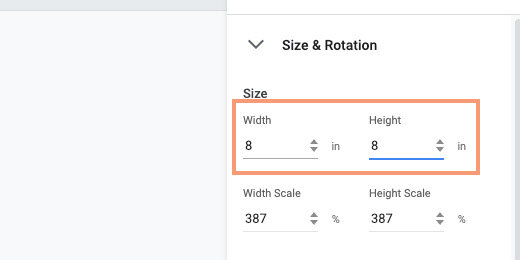
The shape is centered on the canvas with a 1-inch space all the way around.
Click the shape fill tool. Select white.

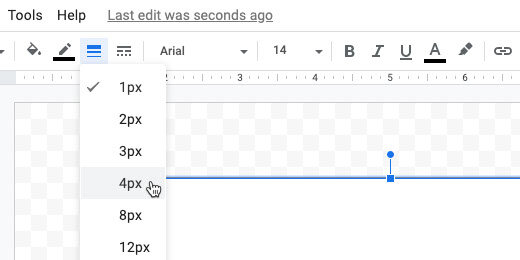
Click the border width tool. Set the width to 4-pixels.
Click the text box tool.
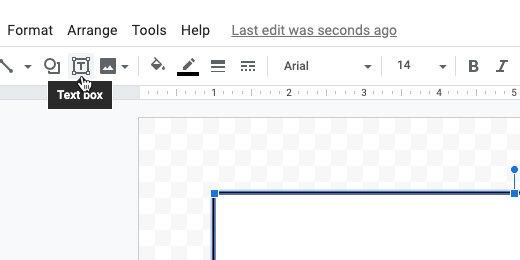
Click once in the area between the box and the edge of the canvas.
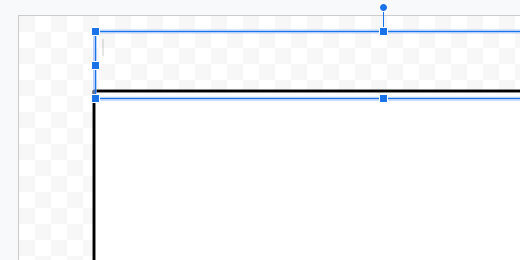
Change the font size to 30 points. Type a capital letter A in the text box. Click the resize handle on the right and drag it toward the left. Stop before you get to the letter.
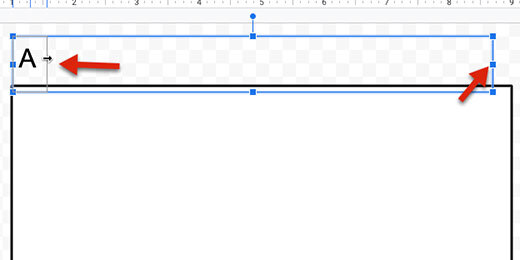
Click and drag one of the text box sides to position the letter near the corner of the square.

Click Edit and select Duplicate. Click and drag the duplicate letter to the right side of the square. Use the red alignment guide to keep the text boxes aligned. Double click in the text box. Change the letter from A to B.

Click once on once of the text box sides. Duplicate this text box. Move the text box to the bottom right of the box. Change the letter from B to C.

Duplicate this text box. Move the duplicate to the lower-left corner of the square. Change the letter from C to D.
Our square is done. The letters are used in the assignment to refer to the sides.
The rectangle
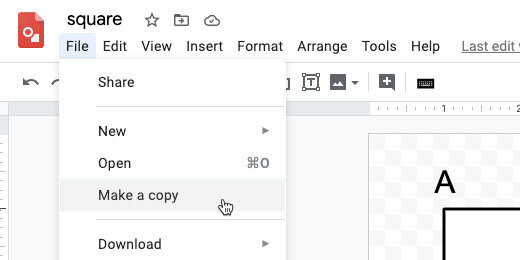
To save time we will use the square as a starter. Click File and select Make a copy.
Change the name to Rectangle. Click the Ok button. Click once on the shape. Open the Format options. Open the size & rotation option. Change the height to 4-inches. Open the position option. Change the Y value to 3-inches. Make sure the rectangle is centered vertically.
Move each of the text boxes close to each corner. Use the alignment guides to help position them.
That completes our rectangle.

Right triangle
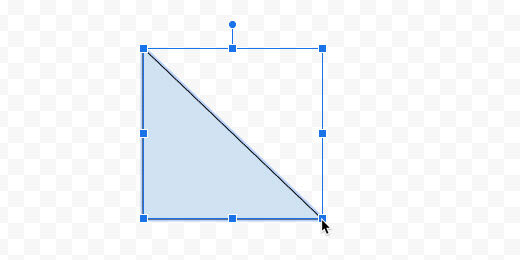
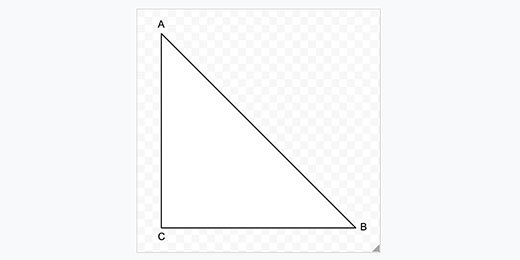
Return to Google Drive. Click File and select new Drawing. Change the page size to 10 inches by 10 inches. Name the new drawing Right Triangle. Click the shapes tool and select the right triangle tool.

Drag out a small right triangle on the canvas.
The options for the right triangle are almost identical to those for the square. Set the position for the triangle. Set X and Y to one inch. Set the width and height to 8-inches. Use the text box to create letters for each angle. Set the background color to white. Set the border thickness to 4 pixels.
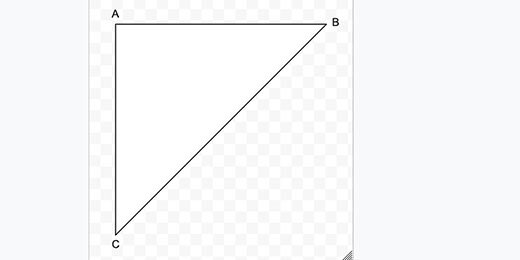
Right triangles face in different directions. Let’s create those different right-triangle options. Make a copy of this drawing. Name the new drawing Right Triangle B. Select the triangle. Click Format options. Open size & rotation. Click the rotate by 90-degrees button once.
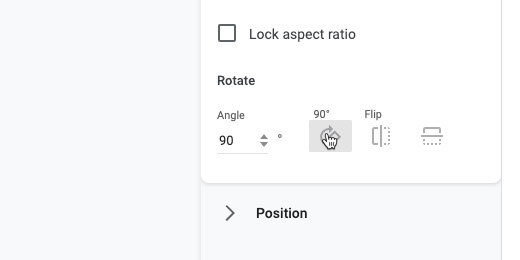
Reposition the letter B. We have our second right-triangle option.
Create two more right-triangle options. Rotate each by the same 90-degrees. Name the right-triangles with the letters C and D.
Regular triangles
There are many other triangle forms. There are isosceles, equilateral, acute, obtuse, and scalene.
Create a new drawing. Set the page size to 10 by 10 inches. Name the drawing isosceles triangle. Click the shapes tool button. Select the triangle tool.

Draw a triangle shape on the canvas. This triangle shape is used to create a variety of triangles. Use the format options panel to set the hight larger than the width. This makes an isosceles triangle. Add text boxes with the letters A, B, and C for each angle.
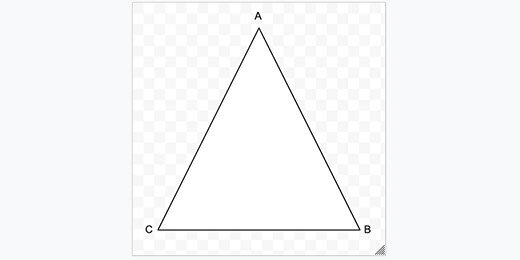
In assignments, students need to solve for the area. To calculate the area, they need to know the height. We need a line to mark the height of the triangle.
Click the shapes selector and choose the line tool.
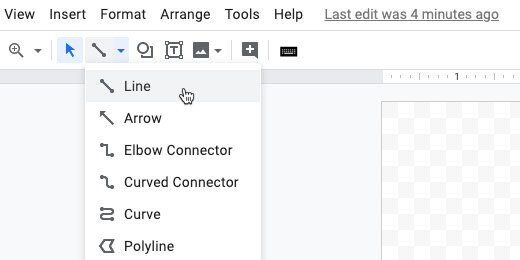
Click and drag a short line on the canvas. The line needs to be vertical. Hold the Shift key while drawing the line.

Click the line color tool and choose a dark grey. Set the line thickness to 3 pixels. Set the line style to dashed. Press the ESC key on your keyboard to release the line.
Drag the line toward the center of the triangle. A center alignment guide appears to help align the shapes. Release the line.
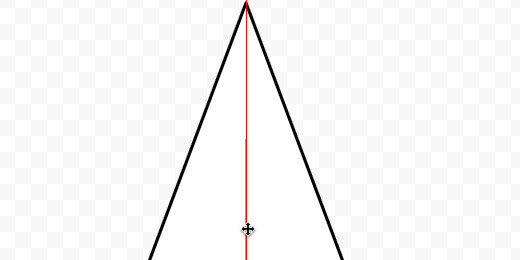
Drag the ends to stretch the line. The triangle has connection points. This helps connect the line to the center of the lines or the corners on the triangle.
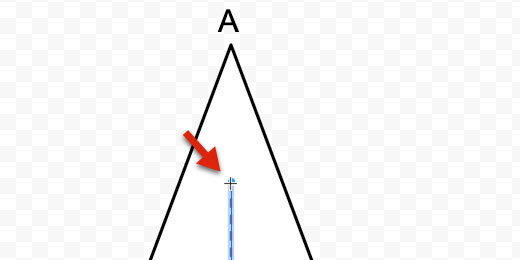
Stretch the bottom of the line. Attach it to the line connector.

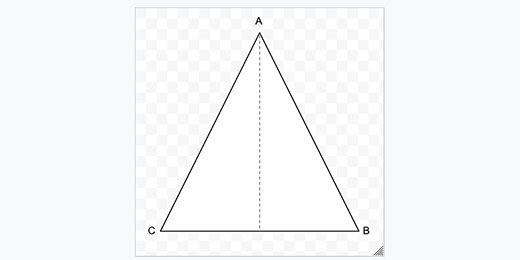
This completes the isosceles triangle.
Equilateral triangle
Make a copy of the isosceles triangle. Set the name of the drawing to Equilateral Triangle. Change the width and height. Use 8-inches for each. Reposition the text boxes as needed.
Scalene triangle
Make a copy of the equilateral triangle. Rename the file to Scalene Triangle. All the sides of a scalene triangle are different. There is an orange anchor at the top of the triangle. Click and drag the anchor to the left or right.
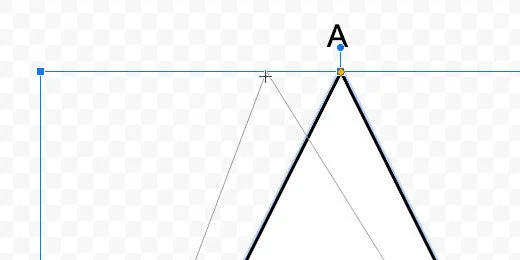
Shrink and stretch the bounding box until you have a triangle with different angles and sides. Move the letters to match the new angle positions.

After deforming the shape, it is no longer centered. It also doesn't fill the canvas. Drag a selection around the shape and the letters.

Drag the shape and letters selection toward the center of the canvas. Use the vertical and horizontal alignment guides.
Repeat this process to create different scalene triangles.
Circle
The circle will be our last shape. By now you should understand the process.
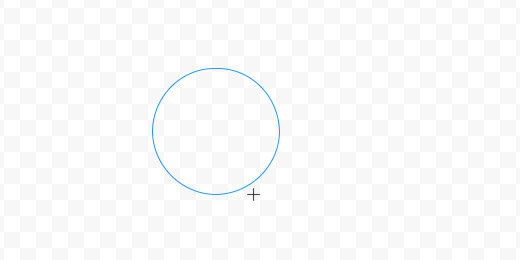
Create a new drawing. Set the canvas page settings. Choose the oval tool from the shapes selector.
Drag out a circle shape on the canvas. Use the Shift key to constrain the shape to a circle.
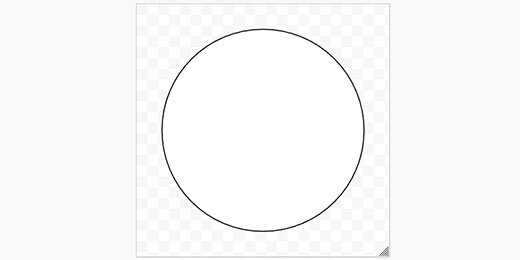
Use the format options panel to set the height and width of the circle. Set each to eight inches. Change the fill color. Choose white. Set the border thickness. Choose 4 pixels.
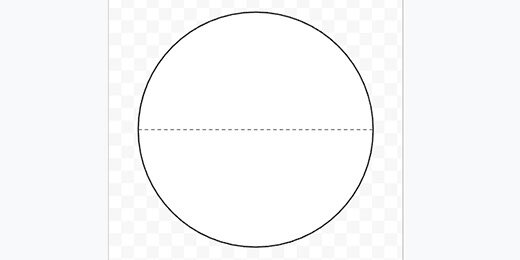
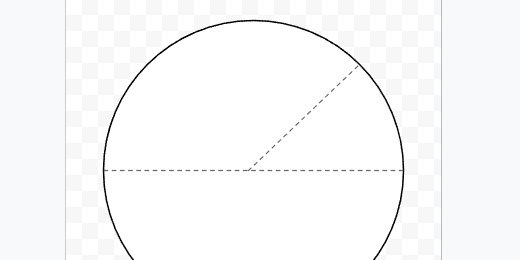
Get the line tool. Create a dashed line. Connect the dashed line to opposite ends of the circle. This marks the diameter of the circle.
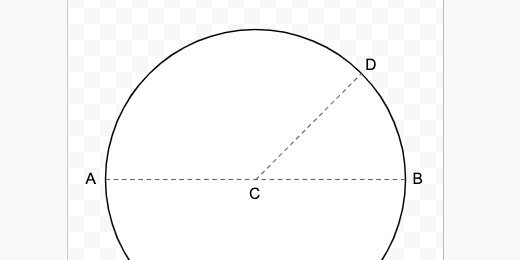
Duplicate the diameter line. Connect one end to the center of the diameter line. Connect the other end to a separate point on the circle. This is the radius.
Create labels A, B, C and D. Place them where the lines touch each other or the circle’s circumference.
Assignments with shapes
There are plenty of shapes available in Google Drawings to create a wide variety of geometric shapes. Use the shapes and Google Docs to create assignments and assessments. Here is an example of an assignment.

The students determine the perimeter or area of rectangles and squares. I used a table in Google Docs to organize the shapes and questions. Using letters for points on the shape allows me to identify them as line segments. This then allows me to provide measurement information. I have free samples on my Teacher Pay Teacher storefront.