Make a cone shape with Google Drawings

Introduction
Geometry isn't only about 2D shapes and angles. It includes 3D shapes. Representing 3D shapes on 2D surfaces like screens and paper is difficult. We can use orthographic projection to represent 3D objects in 2D space. There are different methods for representing 3D objects.
One method used in technical drawings is isometric projection. Another familiar perspective is a Cabinet graphical projection. Cubes are often represented using this projection. Artists often use perspective projections. This is common with buildings and landscapes. There is a family of graphical projections. The images below represent some of these projection groups.
Use the links below to get a copy of this final product or to see a preview.
See a preview of the final product
Cone
Google Drawings has plenty of shapes to help with geometry. It has a couple of 3D shapes. It does not have spheres or cones. In this lesson, we are creating a cone shape.
Create a Google Drawing document. Click File in the menu and go to the page setup option. Set the width and height to 10 inches. Rename the drawing cone.
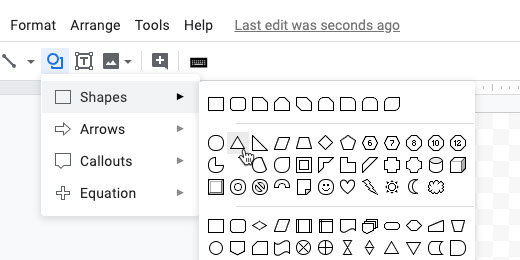
Select the triangle tool from the shapes selector.
Drag out a basic triangle.
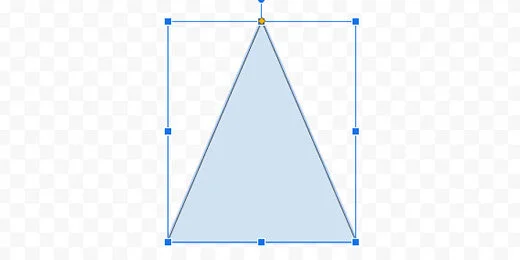
Click the Format options button in the button bar. Select the size & rotation section in the format options panel.

Set the width to 6-inches and the height to 7-inches.

Drag the shape to the center of the canvas. Use the alignment guides.

Change the fill color. Choose white.

Change the line thickness to 3 pixels.

Select the oval tool. Create a small oval next to the triangle.

Move the oval to the bottom of the triangle. Use the alignment guides to center the oval.

Stretch the left side of the oval. Align it to the left angle of the triangle.
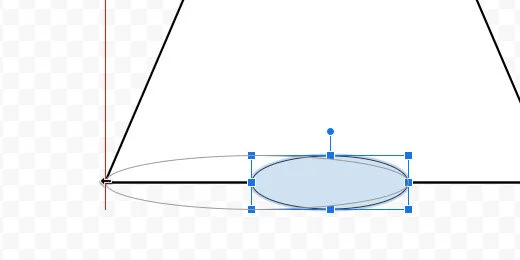
Stretch the right side of the oval. Align it to the right angle of the triangle.
Change the oval fill color to white.
Change the border color to a dark gray.
Change the line thickness to 3 pixels.
Set the line style to dashed.
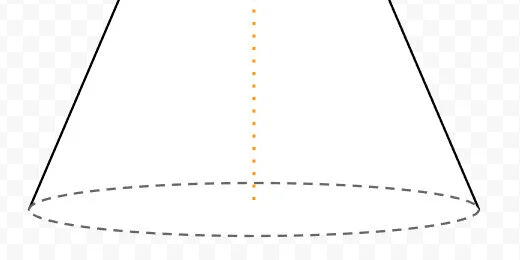
Select the triangle. Click Arrange and go to the Order option. Select the option to bring it to the front.

Each shape is placed on a layer. The triangle was the first shape so it was placed on the first layer. Each new layer is placed above the first. The oval was placed on the second layer. The operation we just performed brought the triangle layer to the top. Part of the oval has disappeared below the triangle.
Select the line tool and create a small vertical line next to the triangle. Use the Shift key to create a straight vertical line.

Set the line thickness to 4 pixels. Choose dotted for the line style. Select orange for the line color. Move the line to the top of the triangle. Use the alignment guides to center the top of the line to the top of the triangle.

Drag the line’s bottom to the bottom of the triangle. Use the purple anchor point to attach the line to the triangle.
Click on the triangle. Go to Arrange and then to the Order option. Select Send to back.
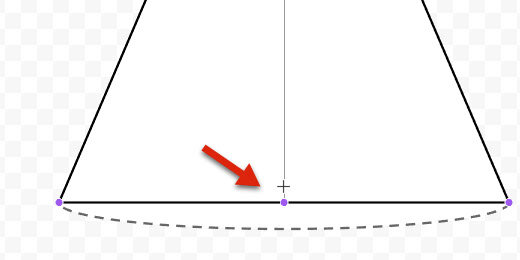
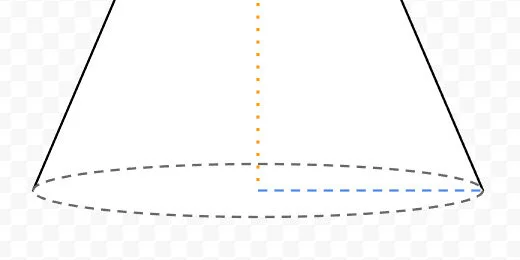
Create a horizontal line. Place it next to the triangle. Change the line thickness to 3 pixels. Change the line color to blue. Change the line style to dashed. Move the line to the bottom of the cone. Align the left side to the orange line. Align the line itself to the center of the oval. Use the alignment guides.

Connect the right side of the line to the edge of the oval on the right.

The blue line represents the radius of the base.
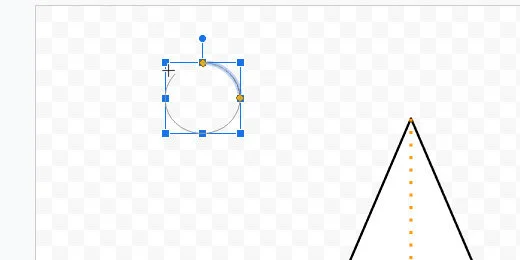
Select the arc tool from the tools selector.

Draw a small arc next to the triangle. Use the Shift key to keep the arc symmetrical.

Drag one of the arc anchor points to form a circle. Don’t complete the circle. Leave a small gap.
Drag the arc to the bottom of the cone. Align it to the center of the oval.

Stretch the left side of the arc to the left edge of the oval.

Stretch the other end of the arc to the right side of the oval.
We need to align the arc to the oval. The arc will be directly over the oval. Hold the Option key and drag the bottom resize hand toward the oval border. The option key keeps it centered while it is resized.

Drag the left arc anchor point to the left. Place the yellow anchor as close as you can to the edge of the oval and the angle of the triangle.

Repeat the process for the other arc anchor point.
Change the arch line thickness to 3 pixels. Set the line style to solid. This completes the illustration.
