Google Slides for distance learning

Introduction
Google Slides provides a variety of presentation options. Most of these options are available because it is a native web application. The presentation options lend themselves very well to distance learning. Students members get a copy of the presentation and presenter notes. This is also very useful as a distance learning resource.
In this lesson, we are going to share a presentation with students. We will use the Q&A option to collect audience questions and get feedback.
Sharing presentations
Sharing presentations with Google Slides provides flexibility for teachers and learners. Teachers share their presentations with students. Students follow along with the presentation using their device. Teachers don't need a presentation screen. This is useful in traditional classrooms and distance learning.
Presenter notes and links are available to students. Updates to the presentation are immediately available to everyone.
There are various ways to share Google Slides. I prefer to share them on a Google Site. Before we get to that, I want to show you other ways to share presentations with students.
Open a slide presentation and click the Share button.
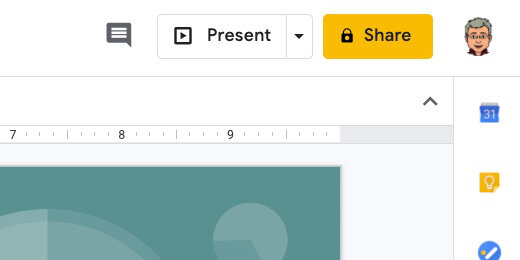
Google Slide share button
Click Get shareable link.
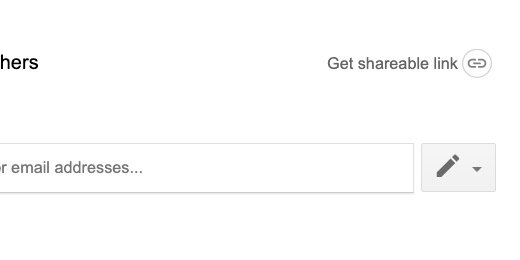
Get shareable link
There are various ways to share the link with students. For example, share the link through email or social media. The link provides view-only access. They won't be able to make any changes to the presentation.
Google Classroom is a better way to share presentations with students.

Shareable link with as view only
Google classroom is not just for students. Use it in professional development environments. I use it all the time.
Sharing with Google Classroom
Go to an existing Google Classroom you created or create one. Click the Classwork section.

Google Classroom Classwork section
Click the create button. The slide can be shared as an assignment, quiz, or question. When using it for a presentation I like to share it as classroom Material.

Create Material option
Provide a title. Include a brief description of the slide if you can.

Title and description for material
Click the Add button and select Google Drive.

Add content from Google Drive
Find the slide and double click to add the resource.

Select the Google Slide to share
Click the Topic selector. Create a topic for the material. Topics provide a useful way for students to quickly access materials.

Create a topic for the resource
I create topics with subtopics. The subtopic appears after the vertical bar.

A topic with subtopics separated by bar
Click the Post button. Students will find the material resource in the Stream Section.

Post button for material
The presentation opens in a tab when students click the shared link. It doesn't open in presentation mode. Students click the Present button to view the slides as a presentation.

Google Slide open in view only mode
Sharing with Google Sites
Google sites is another way to share material with students. Google Sites is a wonderful companion to Google Classroom. It forms the trilogy of Google Classroom, Drive, and Sites. I use a Google Site as part of my classroom resource. The link for the site is one of the resources in my Google Classroom.

Google Site shared as resource in Google Classroom
The slide is embedded in the site under one of the resource pages. The embedded slide provides a good visual for students. The first slide provides the thumbnail. The first slide should, therefore, include the title and relevant information.

Embedded Google Slide in Google Site page
This is how I embed the slide. Select a page where the slide will reside. Go to the Insert section.
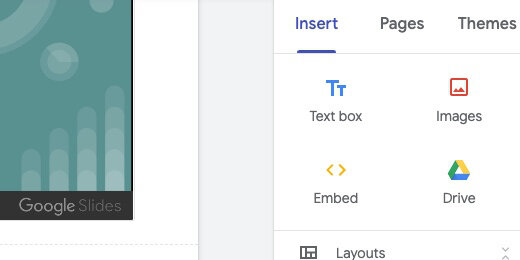
Insert panel in Google Sites
The embed slides option is near the bottom of the insert list. I prefer to use this option because it filters for Slides.

Insert Slides option
Select one or more slides and click the Insert button.
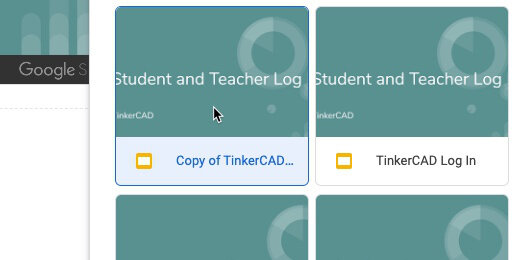
Select Google Slide for embed
Each slide is placed in a separate row.

Google Slide on site page
Click and drag slides around the page to place them side by side.

Drag and drop slide to reposition
Click the Preview button.

Preview the Google Site page
Students interact with the slide through the controls in the thumbnail. They move forward and back through the slides. They jump to a slide using the selector.

Control options on Slide preview
The full screen button displays the presentation on the device's display. It opens in presentation mode.

Full screen button on Google Slide preview
The pop-out button opens the slide in another tab. The slide opens in presentation mode.

Open in tab button
Questions and Answers
Google Slides has a Question and Answer option. It is typically used by the audience to ask questions of the speaker. The speaker then answers the questions after the presentation.
In the classroom, I often reverse the process. During the presentation, I ask questions or feedback from students.
Click the selector next to the presentation button. Select the first option.

Present with Q&A option
A tab opens with the slide thumbnail in a panel on the left. Speaker notes are available on the right. Click the Audience tools tab.

Q&A page for presentation
Click the Start new button at the bottom of the page.

Start at new Q&A session
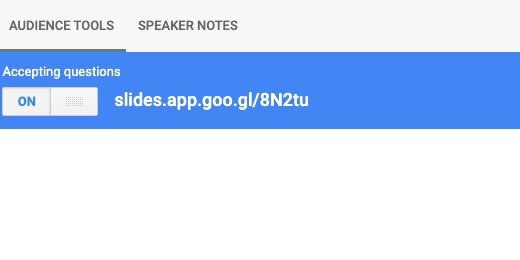
The presentation is now accepting questions. A link to the questions page is provided. This link is shared with the audience on the slide.

Link to Q&A page for slide
The link appears above the slides. Students click the link to open the Q&A page.

Q&A link above each slide
Questions and comments
Students are presented with a question box.

Ask a question box
The student's name is included in the question. There is an anonymous option for shy students.

Question includes user name or send anonymously
Students click the submit button to submit their questions or feedback.

Submit button for question or comment
The question appears on the page for all students to view. The question includes like and dislikes buttons. Students with the same question click the like button. This helps you address the question that is most on student's minds.

Like or dislikes button for question
We see the question and the number of likes. The question has two likes. This does not include the original post. That makes three students that have the same question. Note that the name of the original poster of the question is the only name that appears.

Present button to display question for audience
Each question includes a PRESENT button. This button displays the question over the current slide. Click the button and take a look at the live presentation.

Question displayed over slide
Click the next Present button to display the next question. The previous question is hidden. Click the hide button to stop displaying a question.

Hide button to hide question after responding
Student feedback
Students are not the only ones that can ask questions. Use the link to pose your questions.

Teacher asking for feedback with question
This is a good way to get feedback for a formative assessment. I like asking true/false questions. Students "like" if it is true or "dislike" if it is false.

Question posed as true or false
Use the Present button to display the question for students.

Teacher question displayed for students
Stop accepting questions
The question page remains active. This is true if you close the presentation and the browser. Students can still post questions. I recommend you always close the Q&A session. Toggle the question session to off.

Stop accepting questions button
Reviewing the Q&A sessions
The Q&A session is saved with the slide. It is saved in the audience tools tab. Go into presentation mode and select the Q&A option.

Presenter view with Q&A
Click the Continue recent button.

Continue recent Q&A session button
All the Q&A sessions are listed. Click the continue button for a saved session.

Continue button to view or continue previous Q&A session
The session opens and is activated to begin receiving responses.

Q&A session is automatically enabled
Multiple Q&A
Teachers with multiple periods are likely to present the same information multiple times. This is where we can start a new session. Click the Start new session button.

Start multiple Q&A sessions with Start new button
Each Q&A session has its own unique Q&A link.
Each Q&A session has a separate Q&A link
The date and time for each session are saved and listed in the Recent sessions list.

Each session with date and post time